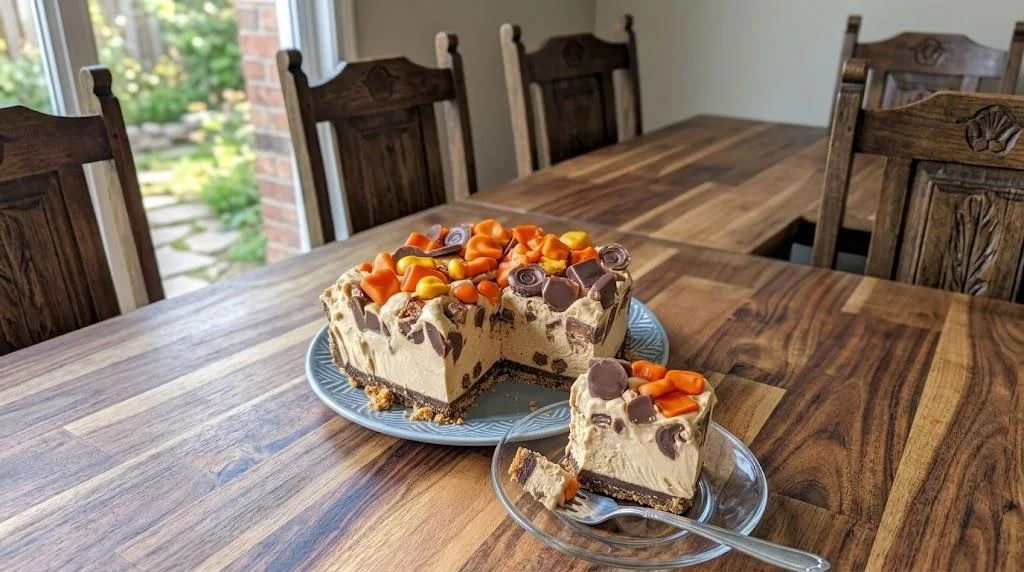

Rich, Creamy & So Easy – No Oven Required!
Introduction: The Ultimate Indulgent Dessert
Imagine a dessert that combines the nutty richness of creamy peanut butter with the velvety smoothness of classic cheesecake all without turning on your oven. That’s exactly what this No-Bake Peanut Butter Cheesecake delivers. It’s the kind of treat that feels decadent and impressive, yet comes together in just 20 minutes of active prep.
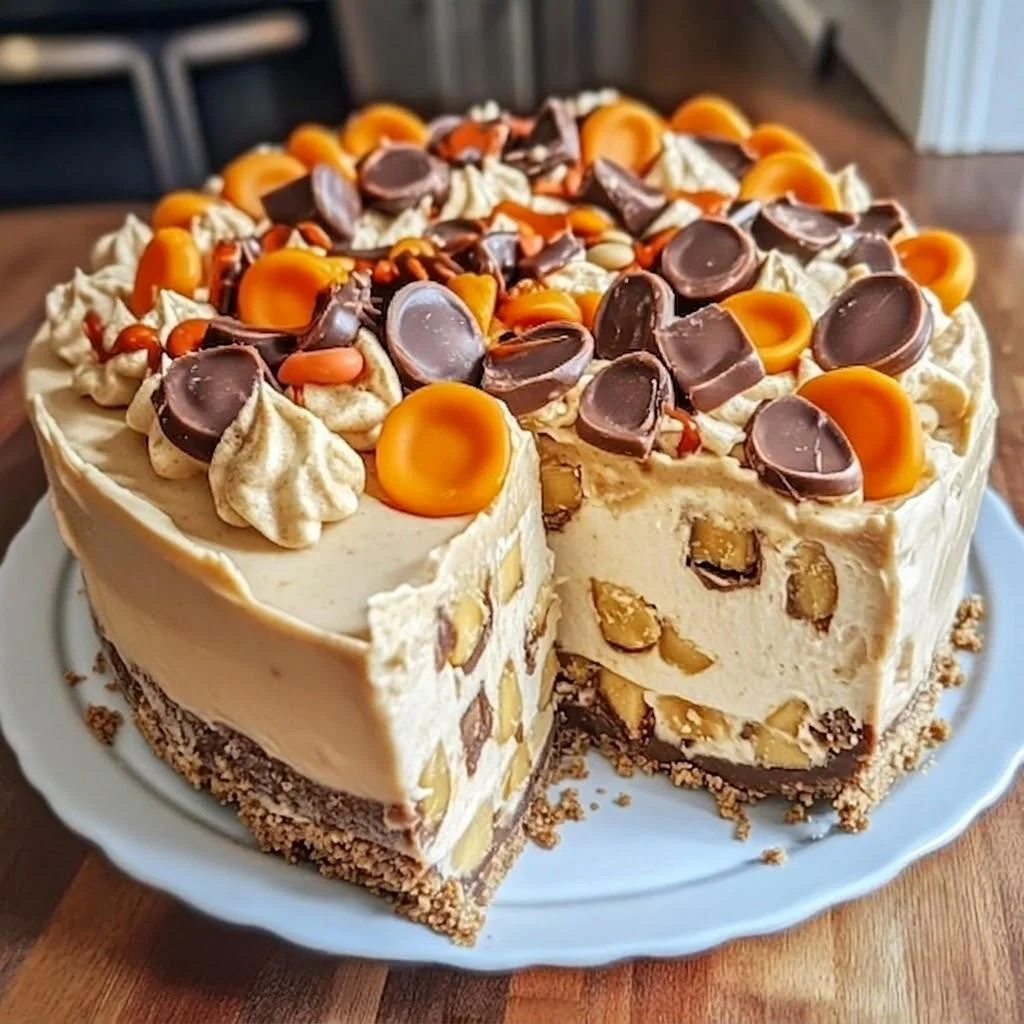
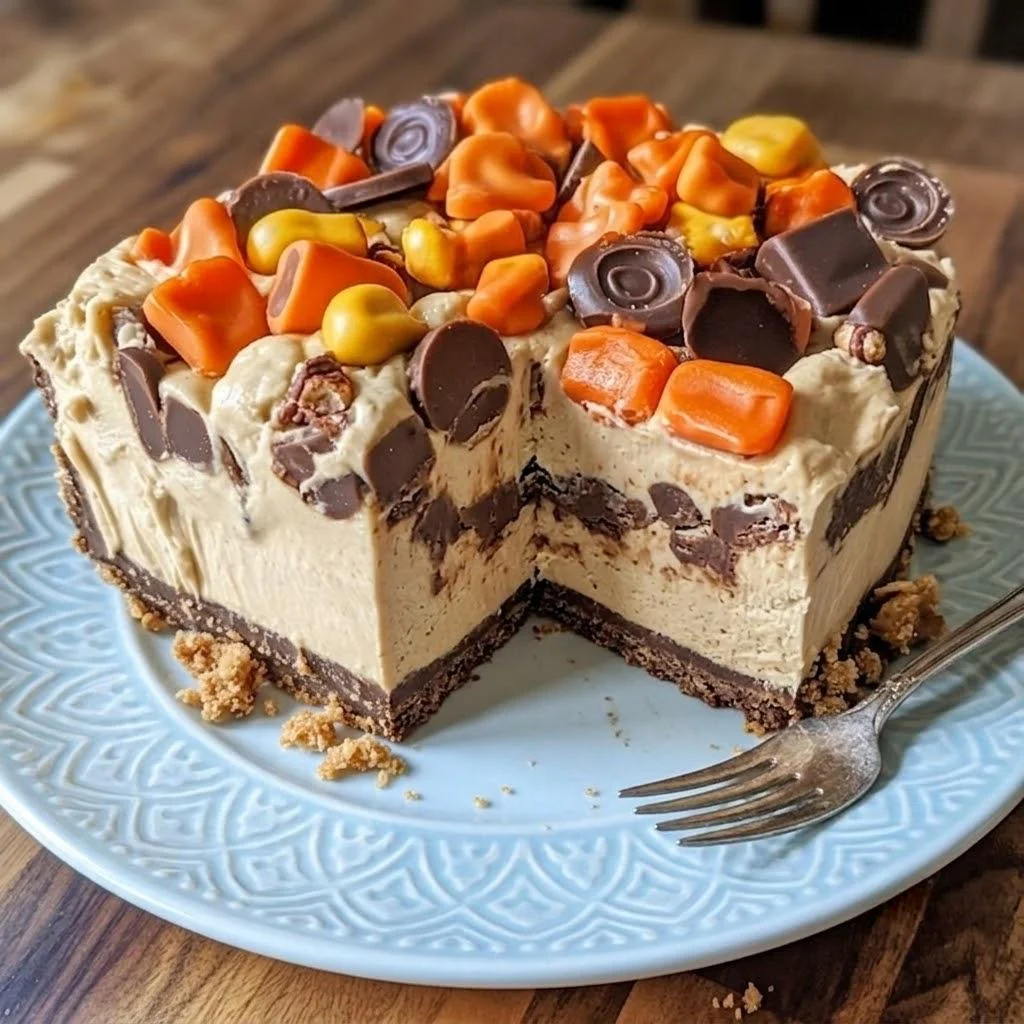
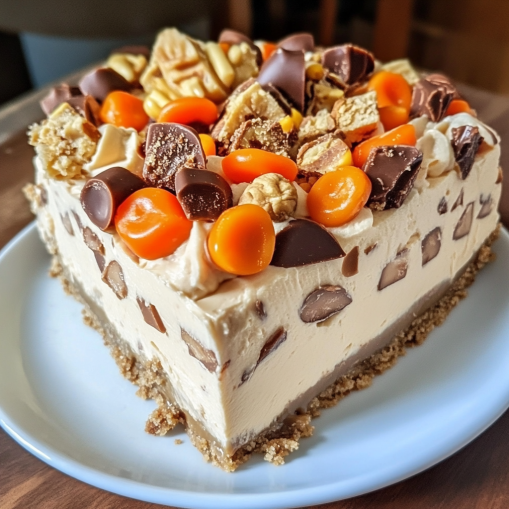
Whether you’re hosting a dinner party, celebrating a birthday, or simply satisfying a sweet craving, this cheesecake is a guaranteed hit. The crispy Oreo crust provides the perfect crunchy contrast to the light, airy, peanut-butter-infused filling. Top it with whipped cream, chocolate drizzle, or peanut butter cups, and you’ve got a dessert that looks and tastes like it came from a fancy bakery.
And the best part? No baking means it’s ideal for hot summer days, busy schedules, or anyone who wants a foolproof dessert without the stress of water baths or cracking tops.
Why This Recipe Works
- No Oven Required: Perfect for warm weather or when your oven is occupied.
- Simple Ingredients: Pantry staples and a few key items no obscure components.
- Make-Ahead Friendly: Prepare a day or two in advance; it actually improves with chilling.
- Crowd-Pleaser: Peanut butter and chocolate are a universally loved combo.
- Endlessly Customizable: Change the crust, add swirls, or top with your favorite candies.
Ingredients You’ll Need
For the Oreo Crust
| Ingredient | Amount | Notes |
|---|---|---|
| Oreo cookies (with filling) | 30 cookies (about 2½ cups crumbs) | Halal-certified |
| Unsalted butter, melted | 5 tablespoons (70g) | Use halal butter |
For the Peanut Butter Filling
| Ingredient | Amount | Notes |
|---|---|---|
| Full-fat cream cheese | 16 oz (450g) | Room temperature, halal-certified |
| Creamy peanut butter | 1 cup (240g) | Smooth, not natural (avoid separation) |
| Powdered sugar | 1 cup (120g) | Sifted |
| Vanilla extract | 1 teaspoon | Alcohol-free or halal-certified |
| Heavy whipping cream | 1½ cups (360ml) | At least 35% fat |
Optional Toppings
- Chopped peanut butter cups (halal)
- Hot fudge sauce (halal)
- Whipped cream
- Crushed peanuts
- Chocolate shavings
- Sea salt flakes
Equipment Needed
- Springform pan (9-inch / 23 cm) – essential for easy removal
- Electric mixer (hand or stand) – for whipping cream and blending
- Mixing bowls
- Spatula
- Food processor (or zip-lock bag + rolling pin) – for crushing Oreos
- Parchment paper (optional, for easy release)
Step-by-Step Instructions
1. Prepare the Crust
- Place Oreo cookies (including the cream filling) in a food processor and pulse until you get fine crumbs. Alternatively, put them in a zip-lock bag and crush with a rolling pin.
- Transfer crumbs to a bowl and pour in melted butter. Mix until all crumbs are evenly coated.
- Press the mixture firmly into the bottom of your springform pan. Use the back of a spoon or a flat-bottomed glass to compact it well. You can also press some crumbs slightly up the sides for a more substantial crust.
- Refrigerate the crust for at least 15 minutes while you prepare the filling.
Pro Tip: Line the bottom of the pan with a circle of parchment paper before pressing the crust – it makes removal even easier.
2. Whip the Cream
- In a large chilled bowl, beat the heavy whipping cream with an electric mixer on medium-high speed until stiff peaks form. This takes about 3–4 minutes. The cream should hold its shape when you lift the beaters.
- Set the whipped cream aside in the refrigerator.
3. Make the Cheesecake Filling
- In another large bowl, beat the room-temperature cream cheese and peanut butter together until completely smooth and lump-free.
- Add the powdered sugar and vanilla extract, and beat again until well combined.
- Gently fold the whipped cream into the cream cheese mixture using a spatula. Do this slowly and carefully – you want to keep as much air in the whipped cream as possible for a light, airy texture.
4. Assemble and Chill
- Pour the filling over the chilled crust and spread it evenly with a spatula. Smooth the top.
- Cover the pan with plastic wrap and refrigerate for at least 4 hours, but ideally overnight (8 hours). This allows the filling to set properly.
5. Garnish and Serve
- Once set, run a thin knife around the edge of the pan to loosen the cheesecake, then release the springform latch.
- Transfer to a serving plate and top with your desired garnishes – chopped peanut butter cups, a drizzle of warm fudge, whipped cream, or a sprinkle of sea salt.
- Slice with a sharp knife (wipe the blade between cuts for clean slices) and serve chilled.
Delicious Variations
🍫 Chocolate-Peanut Butter Swirl
Melt ½ cup semi-sweet chocolate and let it cool slightly. Drop spoonfuls over the filling before chilling, then swirl with a knife to create a marbled effect.
🥨 Salty Pretzel Crust
Replace Oreos with crushed salted pretzels (about 2 cups) mixed with 6 tablespoons melted butter. The salty-sweet combination is addictive!
🍓 Peanut Butter & Jelly
Swirl ½ cup of your favorite fruit preserves (strawberry or grape) into the filling before chilling. A nostalgic twist that kids love.
Mini Cheesecakes
Line a muffin tin with cupcake liners, press crust into each, fill with the mixture, and chill. Perfect for portion control or parties.
Vegan/DF Version
Use dairy-free cream cheese, coconut cream (chilled and whipped), and vegan butter. Ensure peanut butter is free from additives.
Expert Tips for Perfect Results
✅ Do This:
- Use room-temperature cream cheese – it blends without lumps.
- Whip the cream to stiff peaks – this is critical for setting; under-whipped cream leads to a runny cheesecake.
- Chill for at least 4 hours – be patient; overnight is best for a firm, sliceable texture.
- Use full-fat ingredients – low-fat versions won’t set properly.
- Garnish just before serving – to keep toppings fresh and crunchy.
❌ Avoid This:
- Using natural peanut butter – it’s too runny and oily; stick with commercial creamy peanut butter.
- Overmixing after folding – it deflates the whipped cream.
- Skipping the chill time – the cheesecake will be too soft to slice.
- Using cold cream cheese – it will create lumps in the filling.
Storage & Serving
Refrigeration
Cover and store in the refrigerator for up to 5 days. The cheesecake remains creamy and delicious.
Freezing
You can freeze this cheesecake (without toppings) for up to 1 month. Wrap it tightly in plastic wrap and then foil. To serve, thaw overnight in the fridge.
Reheating?
This is a no-bake dessert – serve it chilled. Do not microwave; it will melt.
Frequently Asked Questions
Why didn’t my cheesecake set?
Most likely the whipping cream wasn’t whipped to stiff peaks, or you didn’t chill it long enough. Ensure your cream has at least 35% fat and chill for a full 4–8 hours.
Can I use a different crust?
Absolutely! Graham crackers, digestive biscuits, or even shortbread cookies work well. Use about 2 cups of crumbs and 5 tablespoons melted butter.
Can I make this without a springform pan?
Yes – use a regular pie dish or a square baking pan. To serve, cut directly from the pan (or line with parchment for easier lifting).
Is there gelatin in this recipe?
No – this recipe relies on whipped cream for structure, so it’s gelatin-free.
Can I add chocolate chips to the filling?
Yes! Fold in ½ cup mini chocolate chips just before pouring into the crust.
Nutritional Snapshot (Per Slice, approx.)
| Nutrient | Value |
|---|---|
| Calories | ~450 |
| Protein | 10g |
| Fat | 34g |
| Carbs | 28g |
| Sugar | 20g |
Values vary with toppings and crust choices.
Final Thoughts
This No-Bake Peanut Butter Cheesecake is the dessert you’ll turn to time and time again. It’s indulgent yet simple, impressive yet effortless, and packed with the irresistible flavor combination of peanut butter and chocolate. Whether you’re a seasoned baker or a complete beginner, this recipe delivers perfect results every single time.
So go ahead – grab your springform pan, whip up that creamy filling, and let the refrigerator do the work. Your taste buds (and your guests) will thank you. And remember, with a few mindful swaps, it’s completely halal-friendly!